

Every August my garage turns into a fitting station. Jalen and half a dozen of his teammates come through with new helmets, new cleats, and a mouthguard still sealed in the package, and every one of them asks the same question: does this go in before or after I boil it? Fair question. The directions are printed in about four square inches of type on the back of the package and half of it is legal language. So I started doing the fitting myself on the tailgate of the gray pickup, and after a few seasons of it the whole job takes about ten minutes and almost never goes sideways.
The guard we fit most is the Shock Doctor Gel Max. It is what our team order comes in, and it survives a season of fifteen-year-olds shoving it in and out of a helmet. The part that matters for a home fitting is the Gel-Fit liner. It softens in hot water and takes the shape of whatever bites into it, which means the final fit is on you, not on the factory. Boil it properly and bite it properly and it stays where you put it. Rush the job and you get a guard that drops out on the first snap, and then a kid who refuses to wear one at all.
The guard we fit on the tailgate every August
The Gel Max uses a Gel-Fit liner that softens in hot water and forms to the teeth, plus integrated breathing channels for when the nose is stuffed. Latex free. Adult and youth sizing.
Amazon Check Today's Price on Amazon →Step 1: Check the Size Before You Boil Anything
The Shock Doctor Gel Max comes in adult and youth sizing, and the most common mistake I see is a parent grabbing whatever was on the shelf the night before the first practice. A youth guard in a full-grown mouth is too small to cover the molars, so the player ends up biting plastic instead of liner. An adult guard in a small mouth sits too far back and trips the gag reflex, and once that happens the kid is finished before the whistle. Check the size range on the back of the package against the player's age and mouth, and if somebody is right on the line, sort it out before the package gets opened.
Two summers back I got this wrong in a way I still hear about. A freshman lineman, maybe 5 foot 6 and 190 pounds, showed up with the adult guard his dad had bought on the way to the field. We boiled it, he bit it, and it sat so far back in his mouth that he gagged twice just walking to the huddle. He spent the whole scrimmage holding it in with his tongue instead of playing. His dad came back the next week with the youth size and the same ten-minute process worked on the first try. That is the entire argument for checking the package before the water goes on. Two guards cost less than one missed scrimmage, and this kid had already lost the reps.
The other thing to check is braces. If the player has them, read the package and talk to the orthodontist about what they want the kid wearing before you boil a thing. That conversation is free, and it beats buying twice. Nobody enjoys a bracket coming loose on a Tuesday because the guard fit wrong on a Saturday.
Step 2: Get the Water Actually Boiling
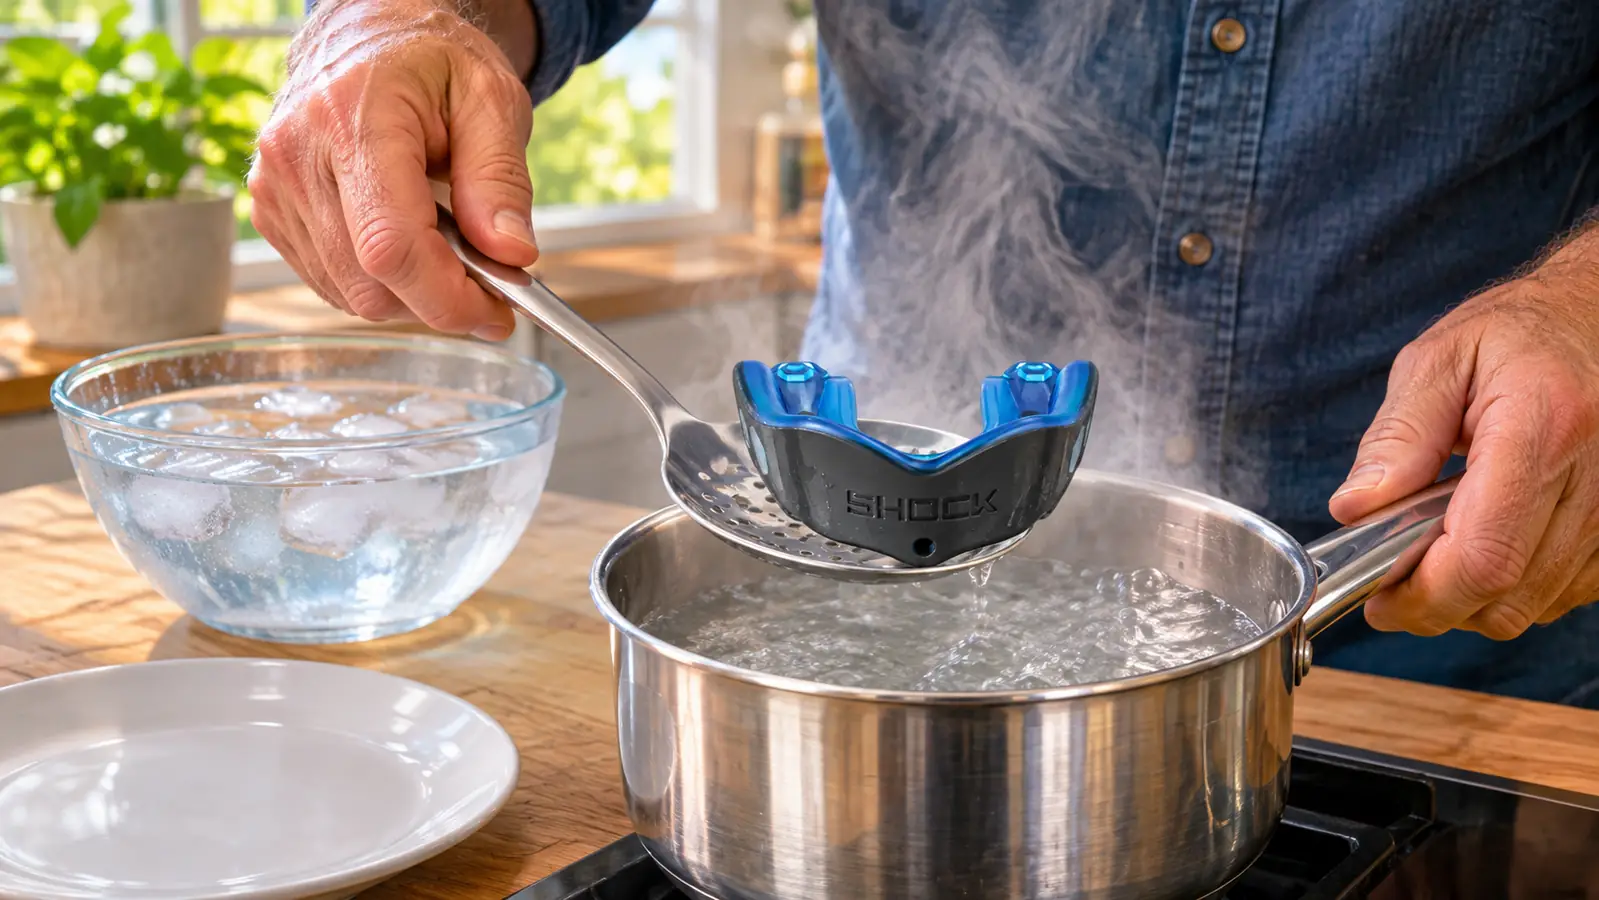
Hot tap water does not do this job. You need a rolling boil, and you need enough of it to cover the guard completely. I use a small saucepan on the stove and fill it about two thirds, which is more water than it sounds like when the thing going in is the size of a credit card. Skip the microwave. A pot gives you even heat and you can see what is happening the whole time.
I learned the microwave lesson the hard way in my own kitchen. First guard I ever tried to fit, I dropped it in a coffee mug of water and ran it for ninety seconds. The water was hot at the top and lukewarm at the bottom, the guard came out half soft and half stiff, and it took the shape of the mug on one end. The whole thing went in the trash. A saucepan gives you a column of water that is the same temperature top to bottom, which is the only way the liner softens evenly on both sides of the arch.
While the water heats, set out everything you will need within arm's reach: a slotted spoon or a pair of tongs, a bowl of cold water, a clean plate, and a mirror. Once the guard comes out of the pot you have roughly fifteen seconds of real working time, and every second spent opening a drawer is a second the liner spends cooling off before it touches a tooth. I set the cold water bowl on the left and the plate on the right, same as every time, because under a clock I do not want to be thinking about where anything is.
Step 3: Soften the Guard, Then Move Fast
Drop the guard in and follow the time printed on the Shock Doctor package. Set a timer on your phone instead of guessing. Do not leave it in longer because softer seems better. An over-softened liner goes slack against the teeth, and the guard ends up thin and sloppy in exactly the spots you want thick.
Fish it out with the spoon or the tongs, never your fingers. Let it drip for a second over the pot, then set it on the clean plate and give it a moment until you can handle it. That window is short. If it is too hot to hold, it is too hot to seat correctly, so wait a beat. Just not a long one. Fifteen seconds on the plate is about right in a normal kitchen. If your kitchen runs cold in January, cut that to ten and work a little faster.
The fit gets decided in the fifteen seconds after the guard leaves the water. Everything before that is just setup.
Step 4: Bite Down and Hold Still
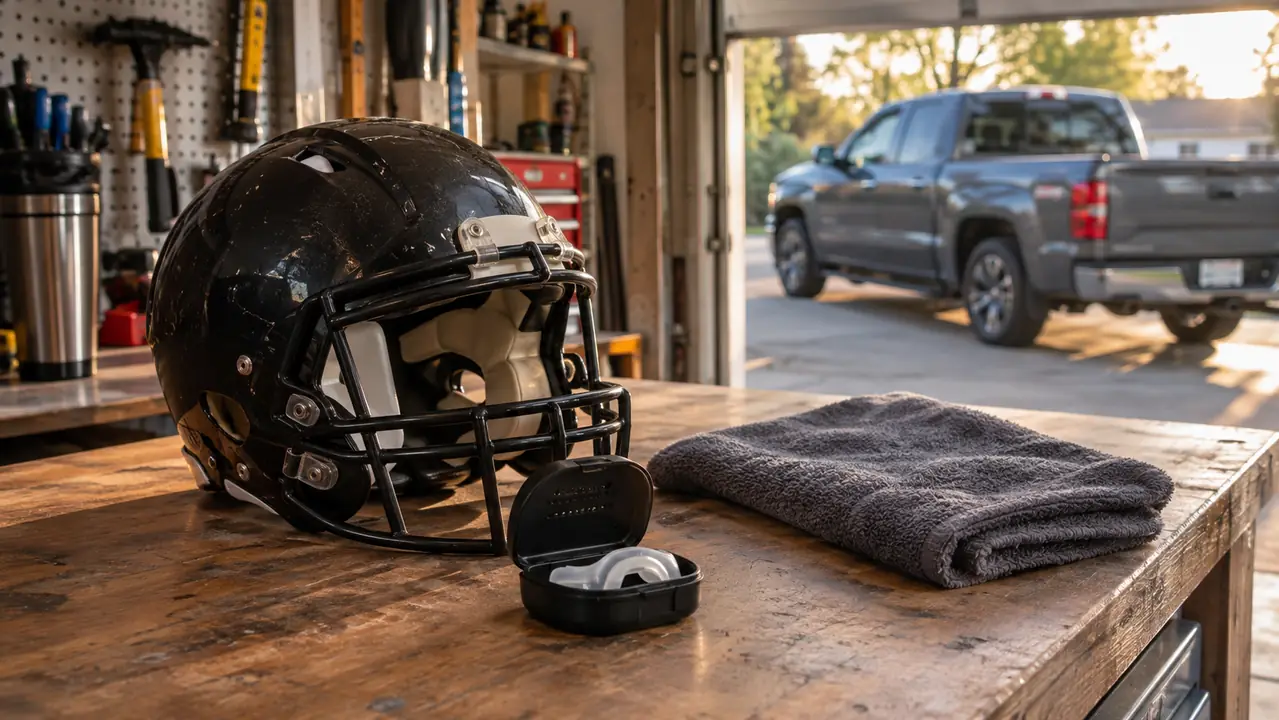
Stand in front of the mirror and center the guard. The front edge should sit just behind the lip, not shoved up into the gum line, and the liner should be over the teeth, not under the tongue. Press it up with your thumbs first, evenly on both sides, so the Gel-Fit liner begins to seat on the molars before you close. Then bite down firmly and hold.
Bite hard enough that you feel it, but do not grind. Grinding walks the guard around and thins the liner on one side, and then the player wonders why one side always feels loose. Breathe through your nose, swallow if you have to, and keep the jaw square. Hold until the plastic starts to firm, which the package will tell you is somewhere around a couple of minutes. Count it out loud if that is what it takes. Players let go early because it feels done, and it is not done.
One more detail: keep the tongue off the front of the guard while it sets. A tongue pressed against the inside pushes the liner away from the teeth and leaves a thin spot right where an impact would land. If a player cannot keep the tongue back, have them bite down and hum. Humming keeps the tongue low and the jaw steady, and it gives them something to do besides fidget. I have used the hum trick on more than one kid who could not hold still for two minutes, and it works every time.
Step 5: Chill It, Then Test It Like It Owes You Money
Straight from the mouth into the bowl of cold water. That sets the shape and stops the liner from creeping while it cools. Leave it three or four minutes, then pull it out and look at it in good light. You want teeth marks sunk into the liner, even and deep on both sides, and a guard that sits flat against the molars without rocking when you press one corner.
Now test it the way it will actually get used. Guard in, helmet on, then have the player talk, open wide, and do a few jumps. If it drops when they open wide, or lifts off the back molars when they talk, the fit is wrong and you should redo it. Two attempts is normal. If a third boil still will not hold, the problem is the size, not the technique, and it is time to try the other one. I make every kid do the jump test in my driveway before he leaves the house. Sounds silly. It has caught four bad fits in three seasons, and a bad fit caught in a driveway is a bad fit caught before a Friday night.
What Else Helps
Storage matters more than people give it credit for. A guard that lives loose in a gear bag comes out flattened and covered in whatever else was in there. Rinse it with cool water after every practice, shake it out, and let it dry in a vented case. Heat is the whole mechanism here, so a guard left on a truck dashboard all afternoon will start to relax and lose the shape you spent ten minutes putting into it. We had exactly that happen with a spare guard that rode around in the bed of the pickup for a week in July. It came back looking like a piece of worn-out shoe leather and went straight in the trash.
The integrated breathing channels on the Shock Doctor Gel Max do real work once the nose is congested, which it will be by week three of the season. The guard is latex free, which matters if you have a player with a latex allergy in the huddle. And on the small stuff: the Gel Max weighs 0.04 ounces, so the guard is not what is tiring a player's jaw. A bad fit is. If a player is complaining about jaw fatigue after a game, check the fit before you go buy something else.
Replace it when the liner starts tearing or when the guard has been chewed thin at the front, and that will happen faster with a player who works it like a piece of gum on the sideline. Most of the guards in my spare bin get retired for that reason, not because they broke. If a player has a deep bite, braces, or a history of dental work, a custom guard from the dentist is worth the conversation. A boil and bite guard like the Shock Doctor gets most kids through a season just fine, and the cost of a replacement is not what should be driving the decision. Getting the kid to actually wear it is what matters.
Last thing, and I say this to every parent who asks: do the fitting at home, on a counter, with time to spare. Not in the parking lot twenty minutes before kickoff with a coffee cup of hot water. The guard is not expensive and the ten minutes are not hard to find. A mouthguard that fits is the difference between a kid who wears it and a kid who tells you he did.
Ten minutes at the kitchen counter beats a dental bill
Gel-Fit liner, integrated breathing channels, latex free, and adult and youth sizing so you can fit it right the first time.
Amazon Check Today's Price on Amazon →