

Most kids who cannot throw a football are not bad at throwing. They are holding a ball that is too big for their hand, gripping it somewhere in the middle where there is nothing to hold, and trying to make up for all of it with their arm. I have watched that same loop play out in August for eleven seasons of JV practice, and I have never once seen it fixed by telling a kid to throw harder.
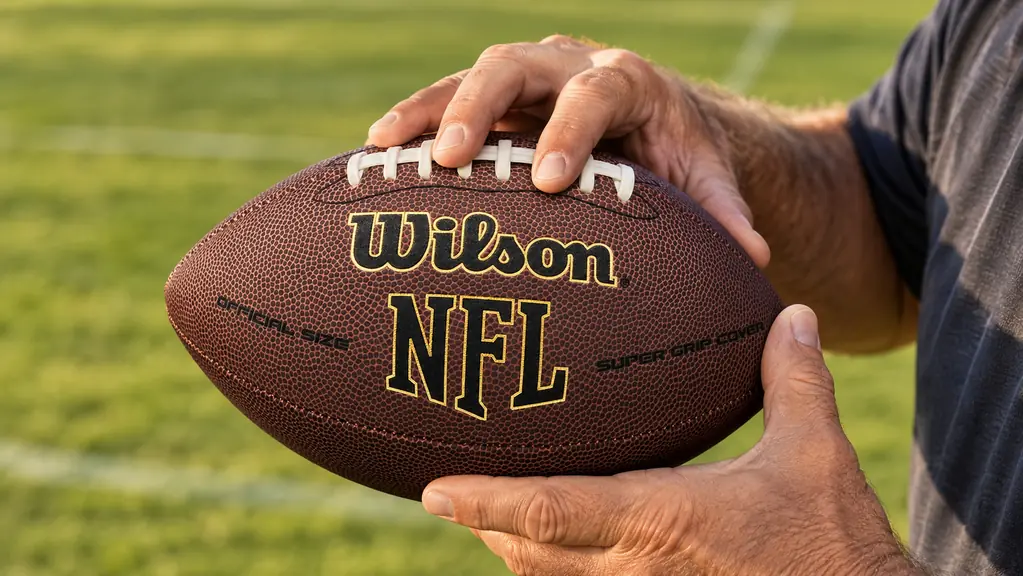
Here is what does fix it, in order: a ball that matches the hand, a grip the fingertips can actually feel, feet that start the throw, and a release that finishes it. This fall I ran those steps in the backyard with my son Jalen and with two JV guys who had never thrown a clean spiral, and the ball we used for most of it was the Wilson NFL Super Grip. Wilson has supplied the official football of the NFL for over 100 years, which is nice for the box, but the reason I hand this specific ball to a beginner is the cover. It is a soft composite, and soft composite gives a young hand something to hold while the fingers are still learning where to sit. The laces are the classic style, which matters more than most parents expect.
The Ball I Put in a Beginner's Hands Before Their First Rep
Comes in official size for high school and college players, ages 14 and up, and in junior size for grades four through six. Composite cover, stitched seams, butyl rubber bladder, classic laces. Same ball, sized to the hand that has to hold it.
Amazon Check Today's Price on Amazon →Step 1: Match the Ball to the Hand
Before a single throw, check the ball against the hand. The Wilson NFL Super Grip comes in two sizes and the difference matters more than any coaching cue I can give you. The official size is 11.36 inches in diameter and weighs 454 grams, and it is built for high school and college players, ages 14 and up. The junior size is made for grades four through six, ages nine to twelve. A nine-year-old trying to throw an official ball will not learn to throw. He will learn to push, and pushing is a habit that takes two seasons to unlearn.
The test is simple. Have the kid hold the ball in his throwing hand and wrap his fingers across the laces. If his middle finger and ring finger reach the laces comfortably and his index finger sits near the second lace from the top, the ball fits. If he has to spread his fingers wide, or if the ball looks like it is carrying his hand instead of the other way around, it is too big. Jalen threw a junior size at nine and an official size at fourteen, and neither transition was automatic. Give it a week.
One more thing on the front end. The 454 gram weight is real, and a young arm notices it. If your kid is throwing a ball that is correct for his age, he should be able to make twenty throws without his shoulder dropping. If he cannot, cut the reps down before you cut the ball size.
Step 2: Teach the Grip Before the Throw
Most kids grip a football like a sandwich. Whole palm, all four fingers bunched somewhere on the panel, thumb wherever it lands. That grip cannot produce a spiral, because the ball never leaves the hand in a controlled way. It just falls out.
The correct grip, in the order you should say it: put the index finger on the second lace from the top. Spread the middle and ring fingers across the next laces, one lace apart. Lay the pinky lightly on the panel below. Put the thumb on the opposite side of the ball, low, roughly under the middle finger. Then the part everyone forgets. Leave a small gap between the palm and the ball. The ball should be held by the fingers and the thumb, not pressed flat against the hand.
That gap is what makes the ball spin. When the palm is flat against the surface, the hand pushes the ball forward and nothing turns it. When the fingers are in the laces with air underneath, the last thing that touches the ball is the index finger rolling off the second lace, and that roll is the spiral. The classic laces on the Wilson ball are easy to find by feel, and that is the whole reason I like teaching grip on this ball rather than on a smooth one. A kid can close his eyes and still locate the second lace.
Have him hold the grip for a slow count of five, then release and find it again. Ten times. Then do the same thing with his eyes closed. You are building the hand's memory now so his brain can think about his feet later.
One caution. Do not let him squeeze. A death grip on the ball kills the release. The grip should be firm enough that you can tug at the ball and he resists, and no firmer than that.
Nine out of ten throwing problems I see in August are grip and feet. Almost none of them are arm strength.
Step 3: Build a Stance That Starts the Throw
The arm does not throw a football. The ground does, and the body passes it along. A kid who throws with only his arm will be accurate to about ten yards and sore by the end of the week.
Start with the feet. For a right-handed thrower, the left foot is forward, shoulder width or slightly wider, toes pointed at the target. The right foot is back and the weight sits on the balls of both feet, not the heels. Knees bent. If you can push him gently at the shoulder and he stumbles, he is standing up too straight.
Now the hips. Have him stand in that stance and turn his front hip toward the target while his back hip stays put. That is the movement you want on the throw, separated from the throw itself. Do it ten times with no ball. Then ten times with the ball held at his chest. The hips lead. The shoulders follow. The arm comes last and does the least work.
The last piece of the stance is the off hand. It should be up and pointing at the target, not hanging at his side. That front hand does two jobs. It aims him, and it pulls down and back as he throws, which turns the shoulders and adds the last bit of speed without him trying to muscle anything.
I will say the same thing I say at practice. If the feet are wrong, nothing downstream can be right. Fix the feet first, every single time, even when it feels like you are going backward.
Step 4: Sequence the Throw From the Ground Up
Now put it together, slowly. Slow is the point here. A kid who learns the sequence at half speed will throw a better ball in three weeks than a kid who learns to heave it in three days.
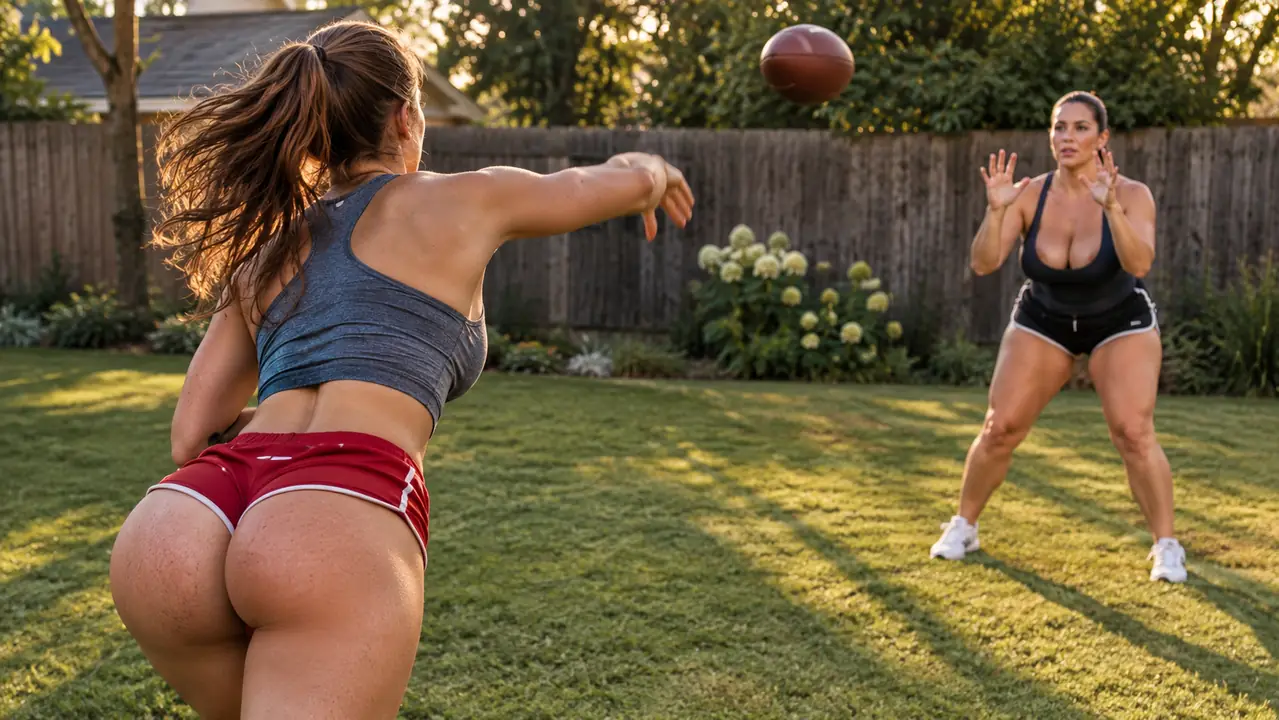
The cue I use is four words: step, turn, point, snap. Step with the front foot toward the target. Turn the front hip and let the shoulders follow. Point the off hand at the target and let it pull down. Snap the index finger off the second lace last. Say the four words out loud while he does it, at a walking pace, from five yards away.
The release point is the piece that takes the longest. The ball should leave his hand above and slightly in front of his ear, with the arm finishing across his body toward the opposite hip. If the ball is coming out low or the nose is diving, he is probably releasing with his palm still flat on the ball instead of rolling off the laces. Go back to Step 2 for one set and then return.
Accuracy first, distance later. Move back one yard only after he has hit a target at the current distance five times out of five. Ten yards is a long throw for a nine-year-old and a short one for Jalen. Use the distance that lets him keep the sequence clean, not the distance that impresses the neighbor.
One adjustment specific to a composite cover. It is soft, and a soft ball is forgiving on the hand, so kids tend to grip it harder than they need to. Watch for that and correct it. Go back to the tug test from Step 2 when the ball starts coming out wobbly.
Step 5: Run Reps That Actually Stick
Short, frequent and specific beats long and occasional. Fifteen minutes four days a week does more than an hour on Saturday. That is true for a nine-year-old and it is still true for a fifteen-year-old.
Here is the session I use. Five minutes of grip work, eyes open then closed. Five minutes of stance and hip turns with no ball. Then twenty throws at a short distance with a target. A target can be a trash can lid against a fence, a net, or a parent kneeling ten yards away with hands up. The target matters, because it turns every rep into a rep with a result.
Add one constraint per session, not five. One day the constraint is the off hand staying up. The next day it is the index finger coming off the lace last. The next it is the front foot landing pointed at the target. Load five cues on a kid at once and he will drop all five by the tenth throw. I have done this. It does not work.
Build in a rest day. Young arms need recovery the same way adult arms do, and the throws a kid makes when he is tired are the ones that teach bad habits. If the ball starts wobbling at the end of a session, end the session.
What Else Helps
Two things, and neither of them is a drill.
The first is a ball that is not overinflated. A rock hard ball is hard to grip and hard to catch, and kids quit on both counts. Check the pressure and keep it in the range printed near the valve. The Wilson ball is a butyl rubber bladder inside a stitched composite cover, and holding the right pressure is what keeps the cover feeling the way it did on day one.
The second is a partner who catches the ball. Half the reason young throwers lose interest is that they spend twenty minutes chasing an overthrown ball through the grass. Kneel at ten yards and catch what he throws. That is the whole job. Hands up, catch it, hand it back, say one thing. Not five things. One.
If you want to add something that carries over to every sport he plays, footwork drills do more for a young athlete than another hour of throwing. We run agility ladder work with the JV guys in the offseason for exactly that reason, and it shows up in the dropback. I have written about how those drills pay off for football players, and the short version is that better feet make a better thrower without ever touching a football.
And a note for the parent who is doing the coaching. Your kid will often throw better for a stranger than for you, and that is not a reflection on either of you. Keep the sessions short and keep your voice level. If he walks away from a session frustrated, he will remember the frustration longer than he remembers the cue.
Get the Ball That Fits the Hand You're Teaching
Official size for ages 14 and up, junior size for grades four through six. Composite cover, stitched seams, classic laces, and a soft feel that lets a young hand learn the grip instead of fighting it. Rated 4.8 by more than 28,000 buyers.
Amazon Check Today's Price on Amazon →